If you love to fill your indoor space with plants, it can sometimes be a challenge to find the right balance between tasteful décor and plant fever. Luckily, there are so many creative ways to display houseplants!
Mounting indoor plants onto driftwood or cork is one of our favorite ways to turn greenery into living art. This unique display technique showcases plants like ferns, orchids, or hoyas in a natural, sculptural form, perfect for adding character to any space. Whether hung on a wall or set on a shelf, mounted plants are a stunning and conversation-worthy addition to your indoor décor.
Beyond aesthetics, meeting the proper lighting, water, and soil requirements is essential for maintaining plant health—after all, a struggling plant won’t thrive, no matter how cool it looks. Keep reading to explore the best plants for mounting, step-by-step instructions for mounting houseplants, and tips to ensure your creation flourishes in your home!
Epiphytes & Semi-Epiphytic Plants
One of the joys of indoor plants is the chance to observe their unique beauty up close from the comfort of your home. Among the most fascinating groups are epiphytes and semi-epiphytes—plants that naturally grow attached to trees or other surfaces rather than rooted in soil. While orchids and air plants are popular examples, this category also includes a wide variety of intriguing species, such as certain ferns, bromeliads, hoyas, and more, offering endless possibilities for your indoor garden.
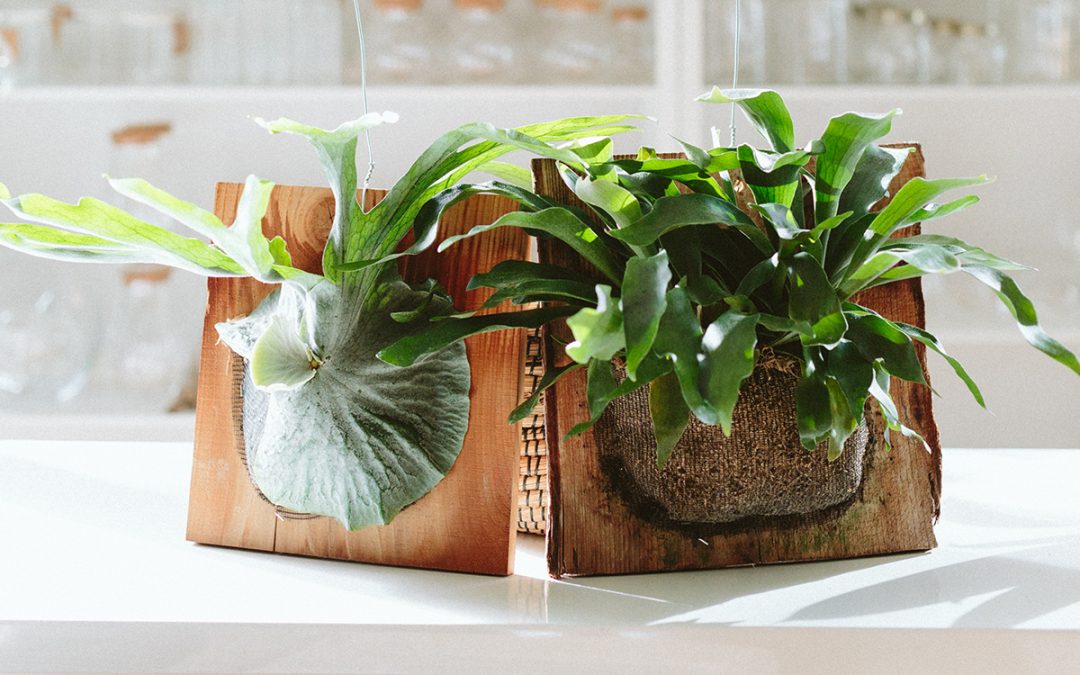
Displaying these plants by mounting them to wood helps simulate their natural growth environment while providing a unique and attractive look! Using cork, driftwood, or other wood surfaces, plants are bound with moss and securely attached with wire or fishing line. Mounted plants may be hung on a wall or placed on a shelf and taken down periodically for watering.


Our creative retail gardening team makes these mounts for purchase in store, but if you would like to try your hand at making one yourself, we have listed the materials and instructions below, plus you can watch the process in our class video. Stop in one of our garden center locations to get some inspiration or to pick up supplies—our plant experts can help you make selections and suggest perfect plants for mounting.
Plant Mounting Supply List
- Fern or other epiphytic houseplant
- Bonsai soil mix and peat moss
- Sheet moss (packaged or collected)
- Driftwood or other piece of lumber
- Filament (like fishing line)
- Heavy gauge wire (optional for hanging)
- Small copper nails or carpet nails (optional)
- Drill with large drill bit (optional)
- Hammer
DIY Plant Mounting Steps
- If planning to hang the mounted plant, drill a hole first to loop heavy gauge wire through.
- Mix soil and moisten until it holds its shape when formed into a ball.
- Shake soil from the roots of the fern and encase them with new soil mix.
- Place in a natural nook of driftwood.
- Cover with moss.
- Wrap fishing line around it to secure.
*If using flatter driftwood/bark or a wood slab, follow the above instructions, then trace a circle where the fern will go and pound in nails halfway every 1–2 inches around circle. Place fern with soil mix in the center, cover with moss, and then use the filament to hold it all in place by looping around exposed nail heads back and forth (creating a crisscross pattern).
Mounted Plant Care Tips
- Hang your mounted plant or place in a location with bright, indirect light.
- Water weekly or when dry and mist between watering. To water a mounted plant, soak the entire piece of wood with the plant in a tub or bucket of room temperature water for 20–30 minutes, and allow to dry before re-hanging.
- Enjoy your mounted plant!